How to generate an Excel spreadsheet of a Dentrix Standard Aging Report
Last updated: July 8, 2025 by Jason Shah
Tracking outstanding patient claims is critical for maintaining a healthy dental practice cash flow. An effective Dental Standard Aging Report helps office managers, consultants, accountants, and practice owners identify unpaid claims, and reduce revenue cycle delays. Dentrix provides a powerful tool to generate this report efficiently.
But, the report that Dentrix provides is not in a format that is easy to use. Dentrix Report Converter makes it easy to generate this report as an Excel spreadsheet.
In this guide, we'll walk you through the exact steps to create an Standard Aging Report in Dentrix, and then how to convert it to Excel using Dentrix Report Converter.
Step 1: Open the Standard Aging Report in Dentrix
Launch Dentrix and log in with a user with sufficient permissions to generate reports.
Open Office Manager.
Click on Reports (from the toolbar) > Ledger > Aging Report.
A dialog box will appear, allowing you to configure the report settings.
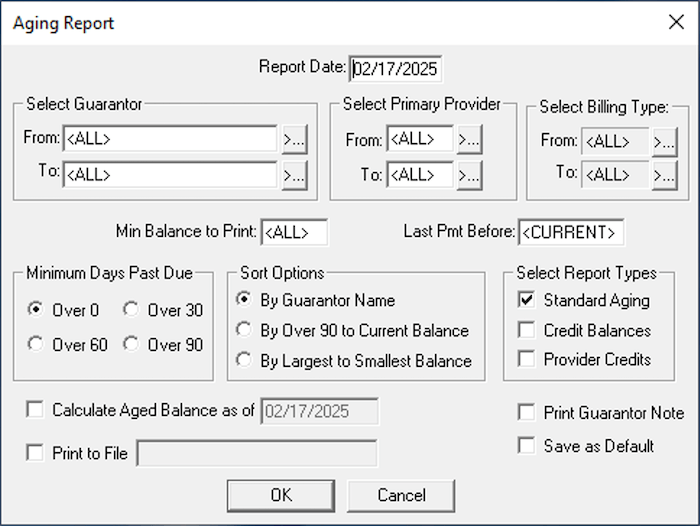
Step 2: Configure the Report Settings
To generate an effective report, use the following recommended settings:
- Minimum Days Past Due: use 0 to get all claims. Use 30 to get only overdue claims.
- Sort Options: leave By Guarantor Name selected
- Select Report Type: leave Standard Aging selected
Once configured, click OK or Generate Report to proceed.
Step 3: Open and Save the report as PDF
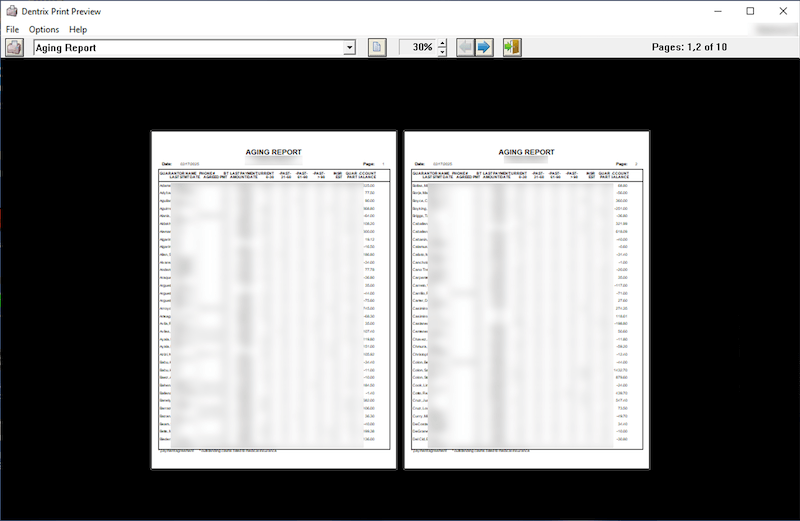
The report will appear at the bottom of the Batch Processor. Find it and double-click on it.
You will be taken to the Dentrix Print Preview screen.
Tap on File > Print.
Look for a printer that says something like "Print to PDF", and choose that one. That printer will allow you to "print" the report to a PDF file on your computer.
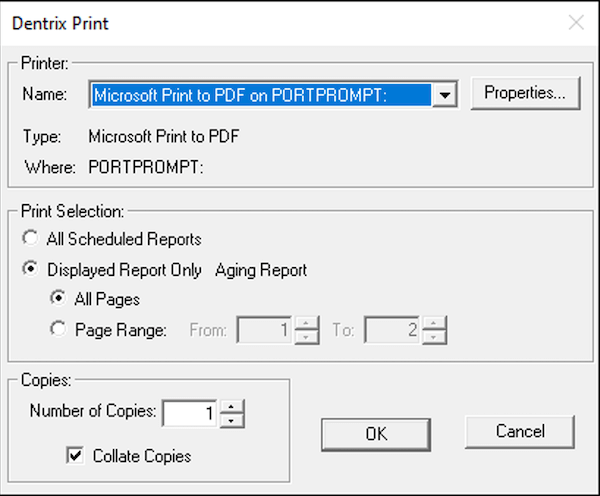
Click on OK and save the PDF to your computer.
Step 4: Convert the report with Dentrix Report Converter
Log into your Dentrix Report Converter Dashboard.
Drag the file into the upload area
Tap "Upload and Convert"
Within seconds, you will receive a link to download your report in Excel. You can export this to CSV or upload it to Google Sheets.
Once the report has been converted, you can now use it to prioritize your follow-ups to insurance providers.